Daimler Dingo
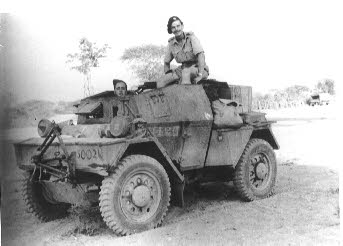
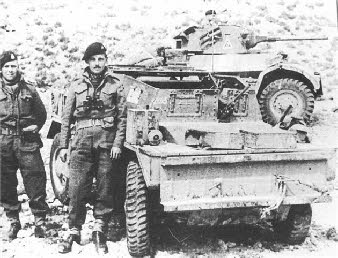
The above photo is of one of the Daimler Dingos belonging to 6th AARR, next to a 6th AARR medium machinegun carrier, photographed in Germany in 1945.
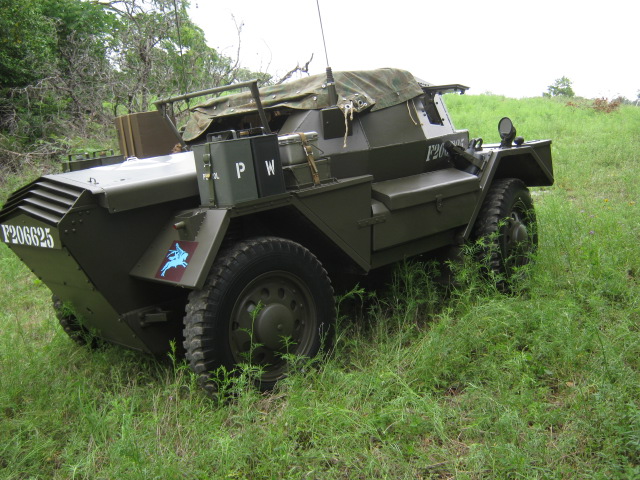
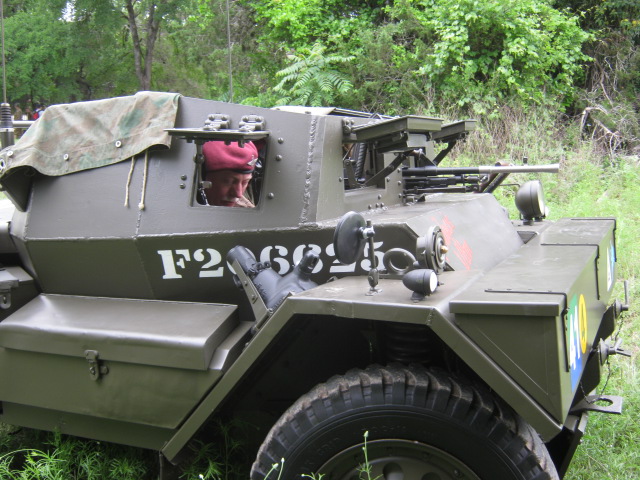
The Daimler Dingo armoured scout car was developed before the start of WW2. The Dingo was ideally suited to the role of armoured reconnaissance for an airborne force. Weighing 3 tons each, two of them could be carried in one Hamilcar glider. For a vehicle it's size, it was heavily armored, with 30mm of frontal armor, making it the most heavily armored and well protected fighting vehicle in airborne service. It's crew of two consisted of the driver and the vehicle commander, who also operated the radio and was the gunner for the car's main weapon, usually a Bren gun. The Dingo had solid rubber tires, so that it could keep operating even if the tires had been shot by small arms fire or damaged by artillery fragments or blast damage. It had a unique and very advanced transmission and gearbox, with five forward and five reverse gears, allowing it to achieve speeds of 60 mph forward and 55 mph in reverse. The driver seat, stearing wheel and controls were set at an angle within the car, allowing the driver to easily see over his left shoulder to the rear of the car while driving in reverse.
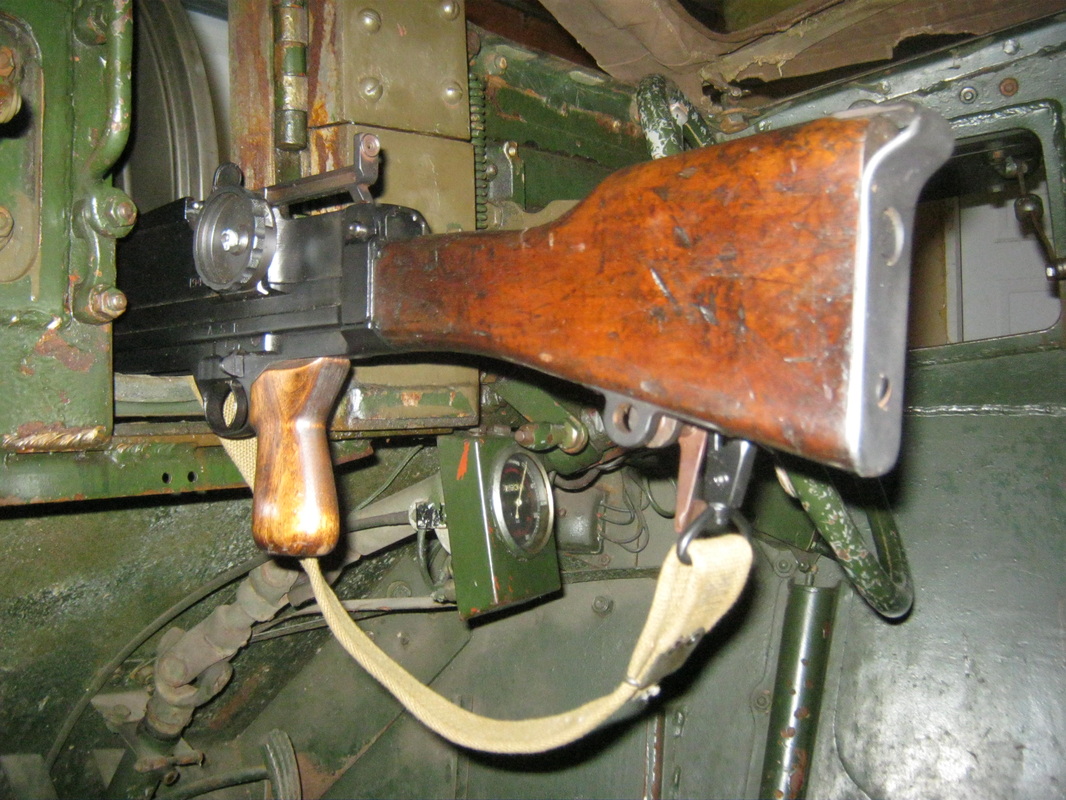
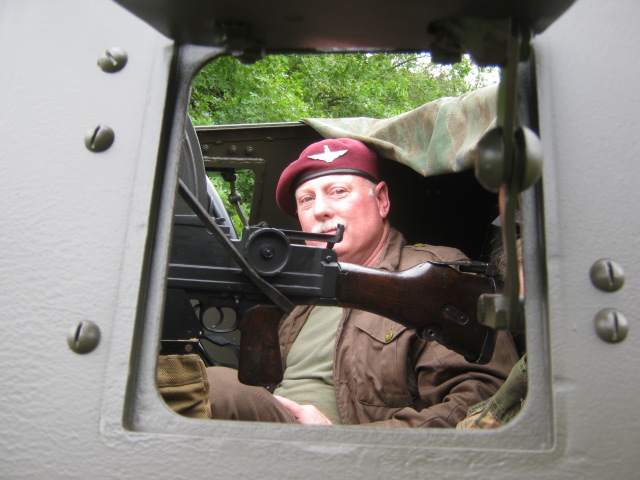
As was tradition at Daimler, the quality of the Dingo was superb, considered one of the best armored fighting vehicles produced by Britain during WW2. And in true Daimler traditional quality, it had a leather seat for the driver, and walnut trim, in the form of the buttstock and hand grips of it's Bren machinegun.
The Dingo saw service throughout the war in every theater of operations, from the German invasion of France and the low countries in 1940 through the final victory of the Allies in 1945. It came in three models, the Marks 1, 2 and 3. The Mark 1 came with a sliding armored roof, that was normally left in the open position, and four wheel steering. But the four wheel steering was found to be dangerous for inexperience drivers, and the sliding armored roof had a tendency to slide forward during abrupt stops, becoming dangerous to the crew's exposed heads. So the Mark 2 was developed, with front two-wheel-only tradional steering, and a roof that folded over instead of sliding front to rear, to remedy the problems with the Mark 1. The Mark 3 was essentially the same as the Mark 2, but it was determined the armored roof was more of a problem than it was worth, and was eliminated.
Driving the Daimler Dingo
The link here is to a youtube video of a Dingo owner in Britain driving his Daimler Dingo around town. When you are watching, note the gear shifting arrangement. You will see him moving a small lever up and down to the right of the steering wheel on the dashboard. That is the gear selection lever. After he selects the gear he wants, he pushes a pedal down with his left foot and releases it, located where you would normally find a clutch pedal. Pushind and releasing that pedal switches the gearbox to the gear selected with the lever on the dash. There are two levers mounted on the floor to the driver's left. The front lever switches the gearbox from forward to reverse and to neutral. The rear lever is the hand brake. The accelerator and brake pedals are where you would normally expect them, depressed using the right foot.
http://www.youtube.com/watch?v=_VePTL6R9wA
http://www.youtube.com/watch?v=_VePTL6R9wA
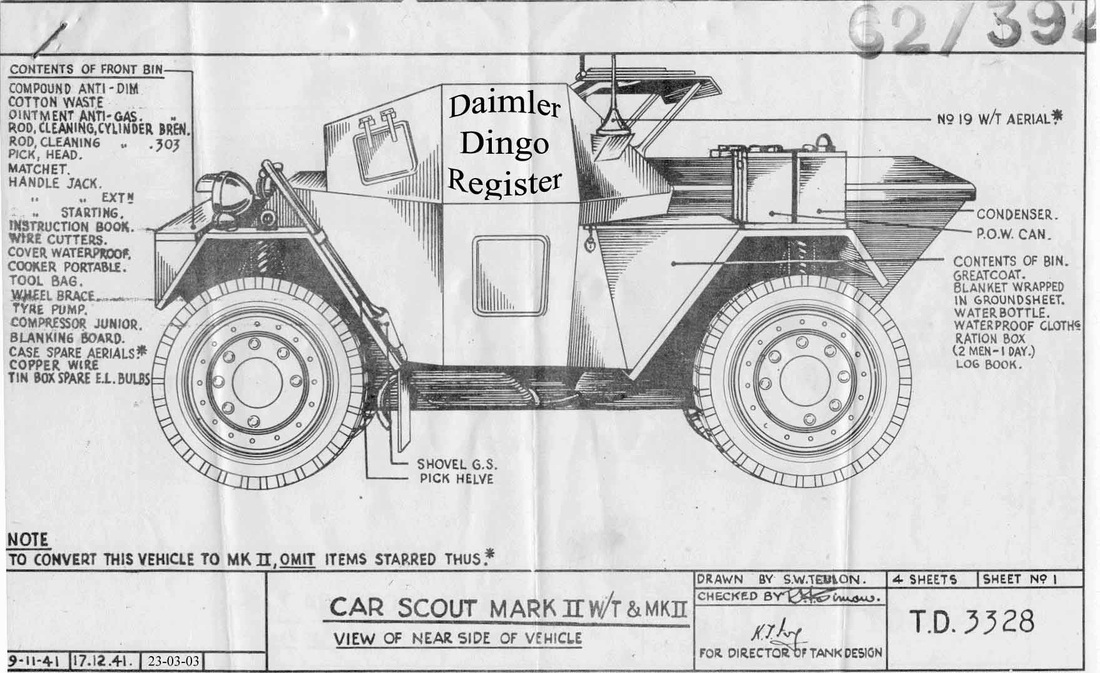
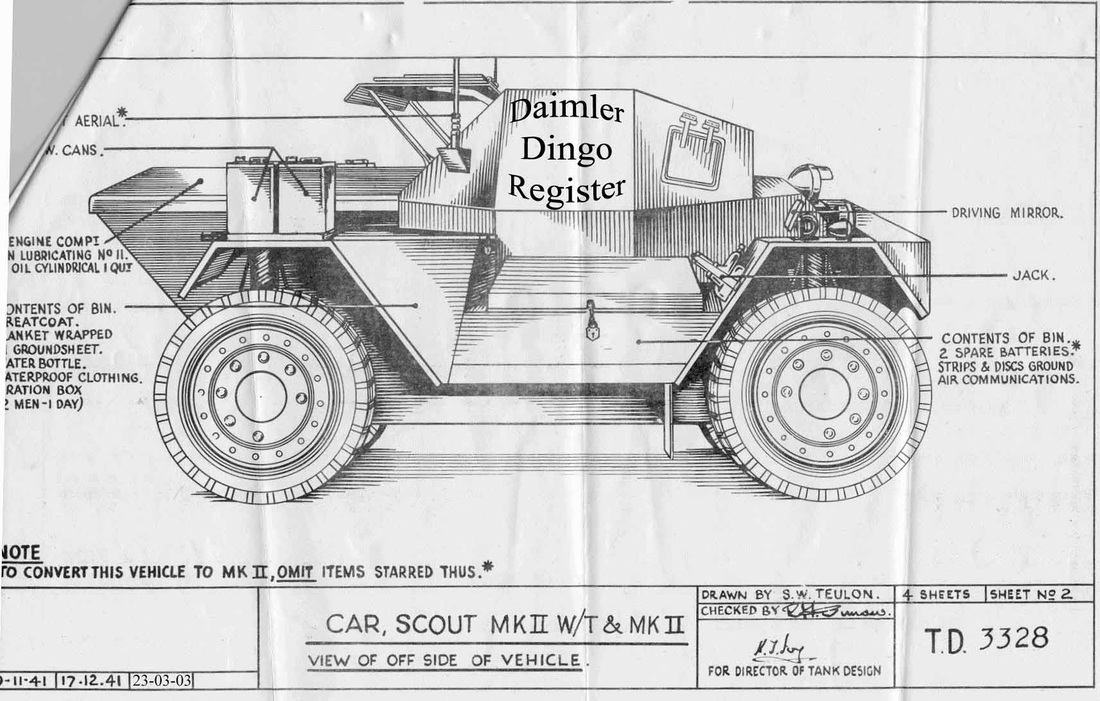
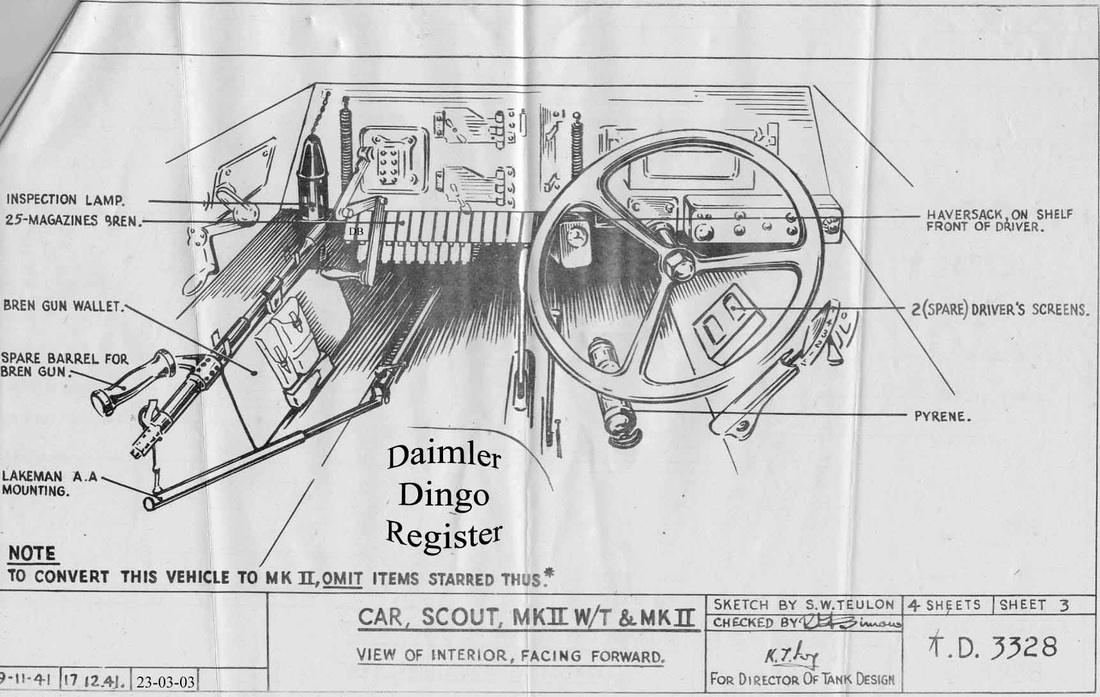
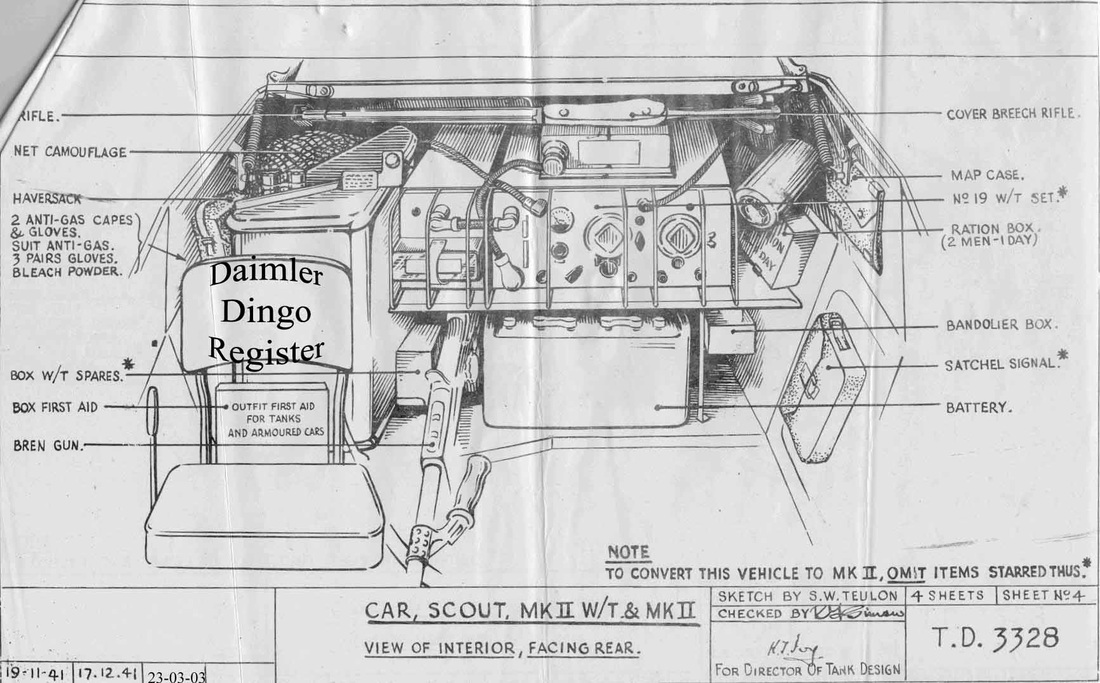
The load plans below are courtesy of the Daimler Dingo Register.
Dingo F206625 Restoration
|
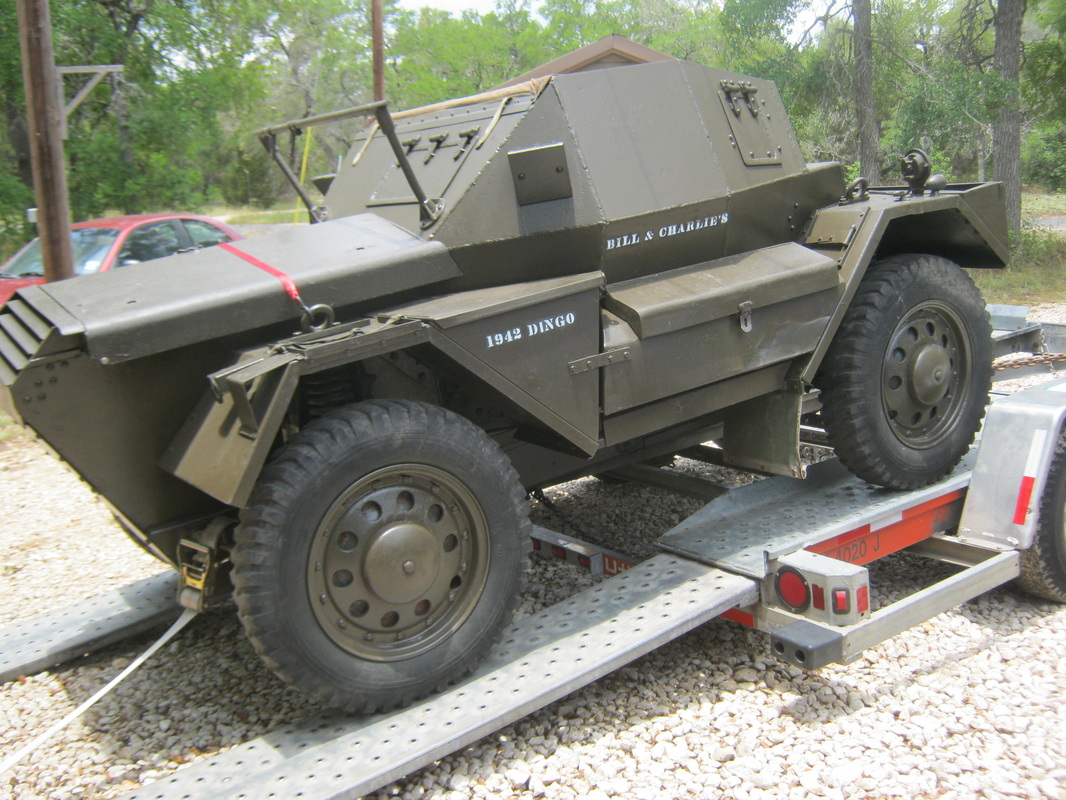
The above photo is unloading the dingo at its new home. Because it was not running, it was chained to a tree ahead of it, strapped to a tree behind it, and the trailer pulled out from under it, so it would not roll.
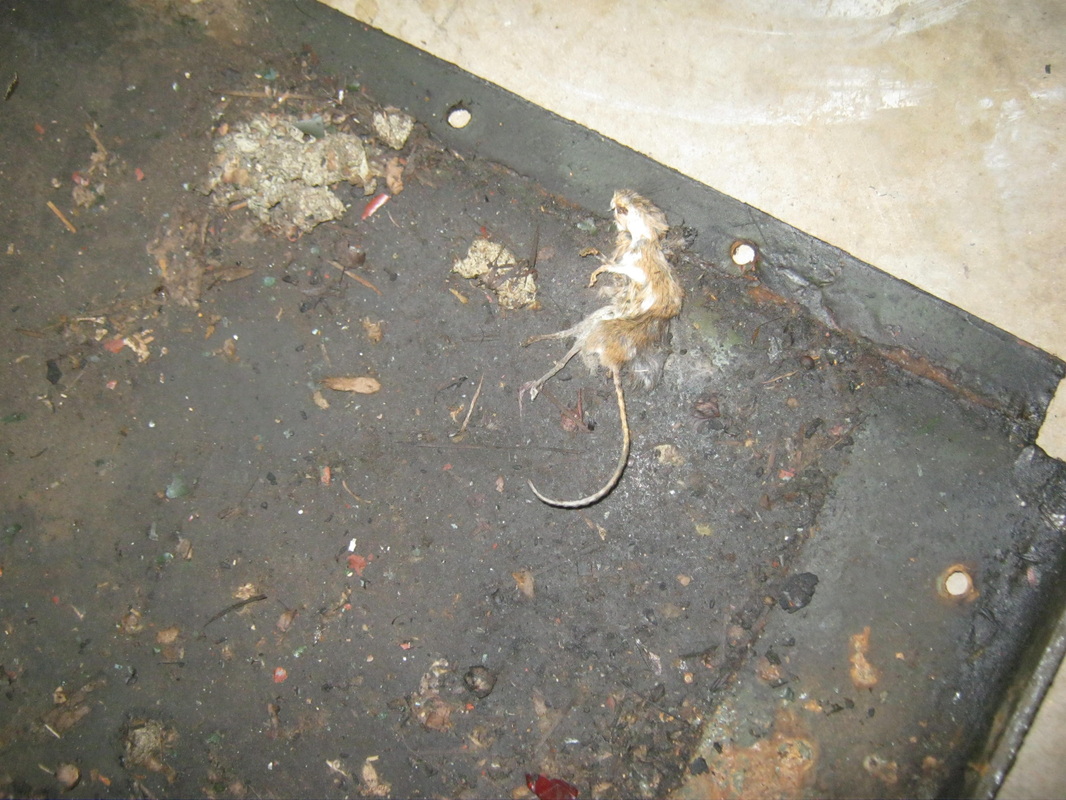
The above right photo is one of the belly armor plates removed after bringing the dingo into the garage. The mouse was too fresh to be British, so it has to have been a Yank. |
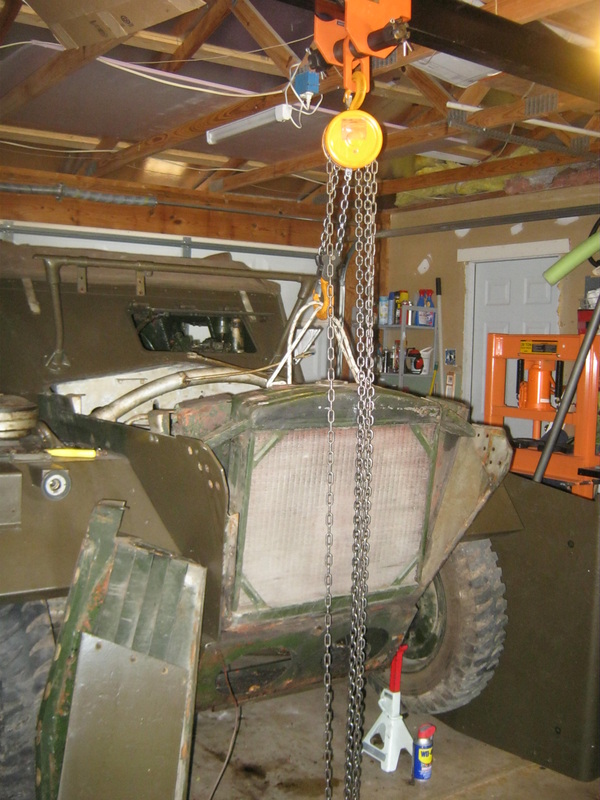
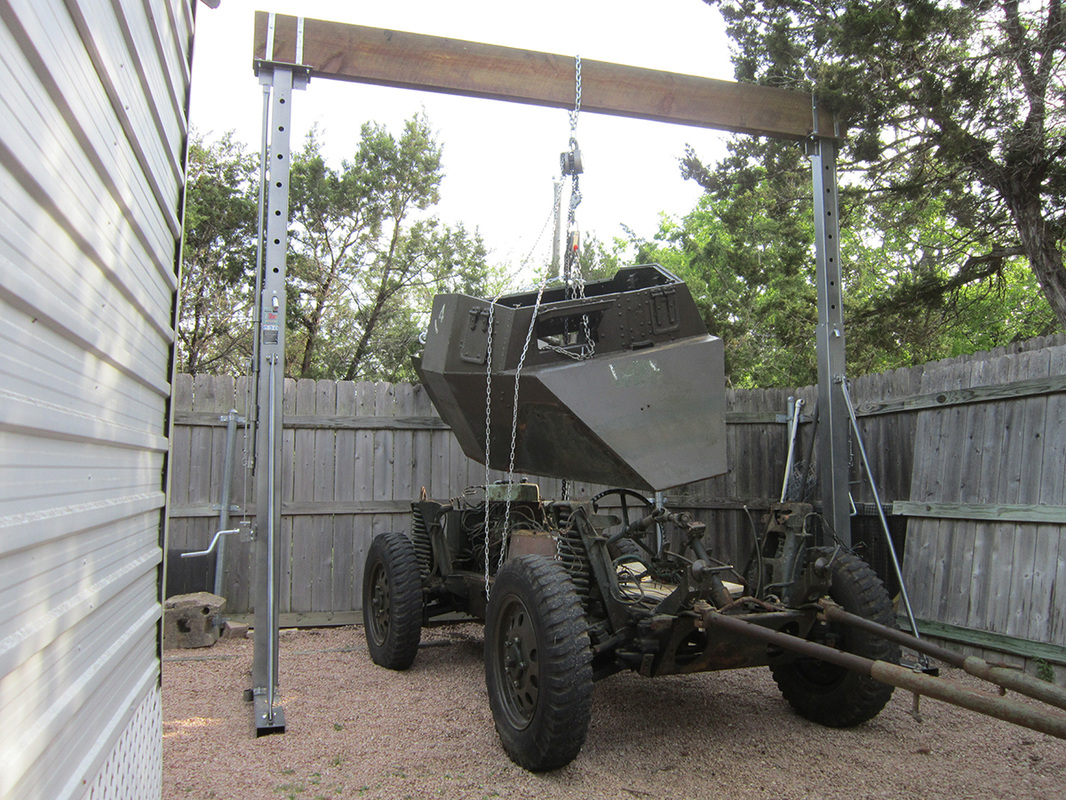
The photo to right is with the engine deck removed, that can be seen to the right of the dingo standing on end. The rear armor has been removed and the armored grill and one plate are to the left, standing on end. The radiator is being removed with the aid of a gantry crane.
|
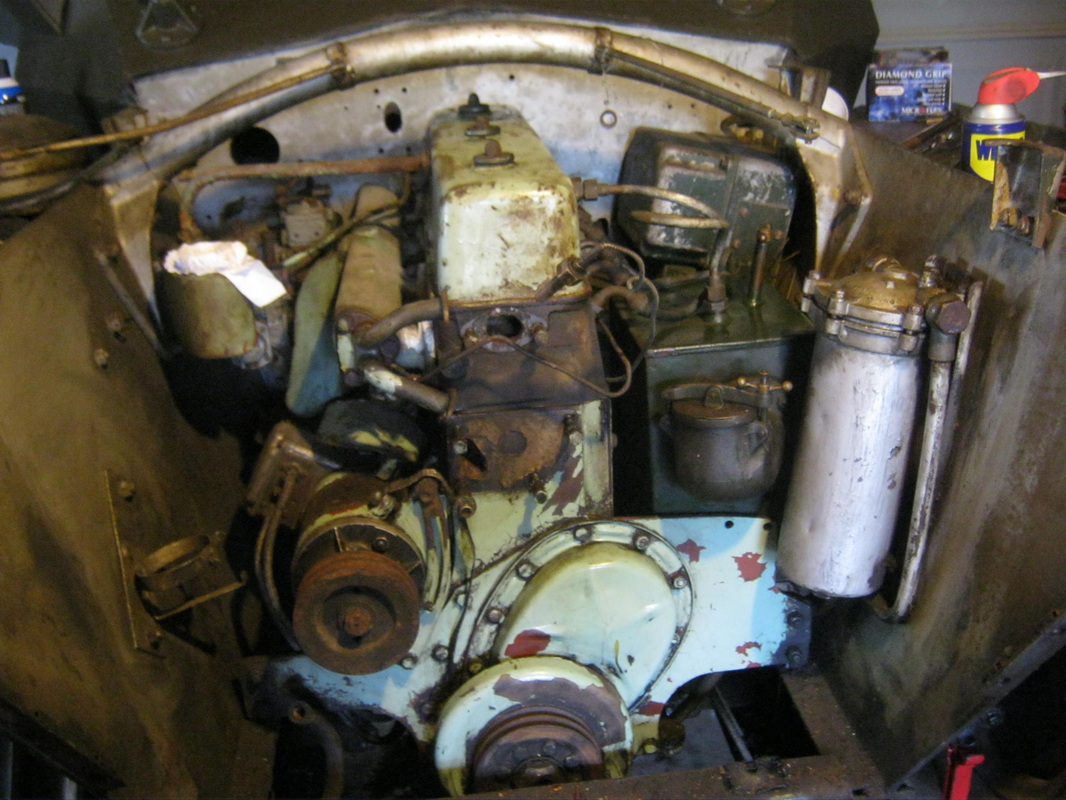
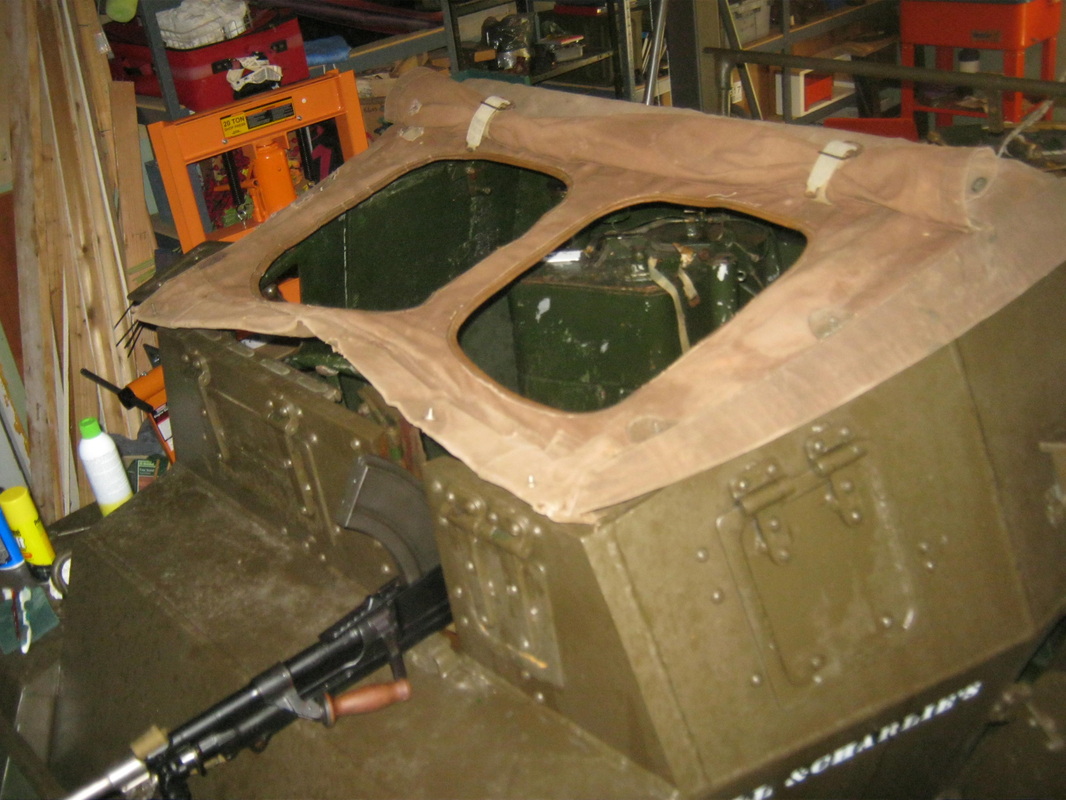
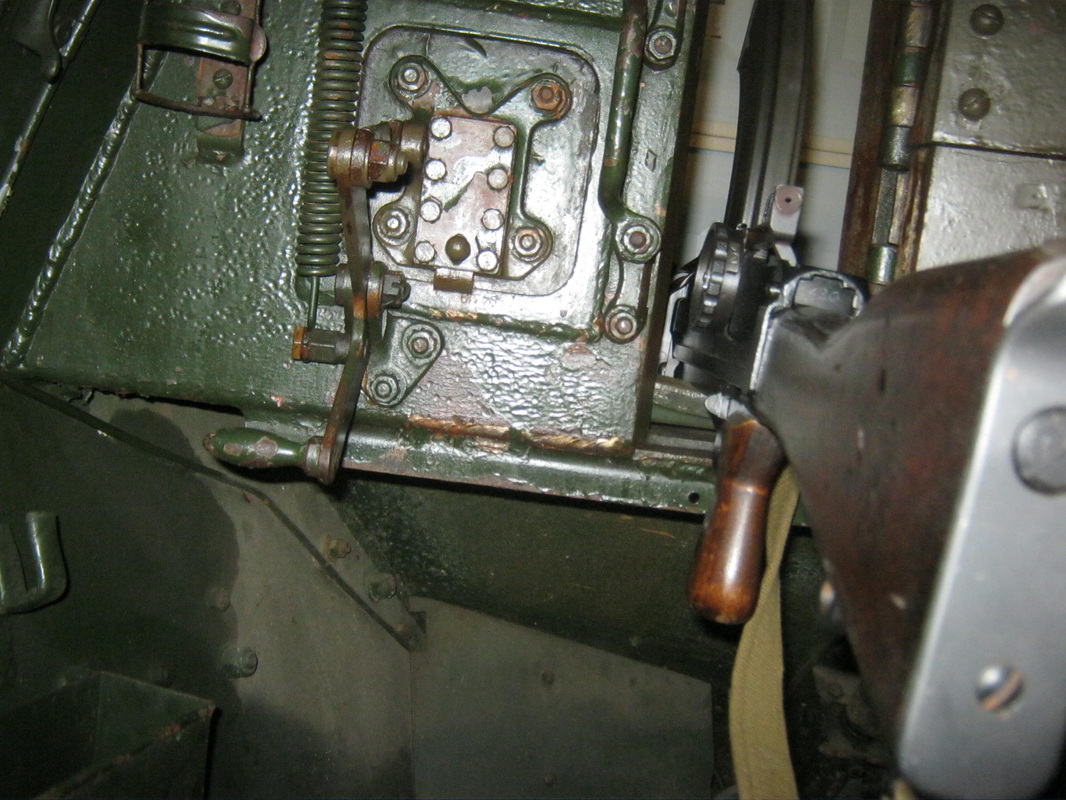
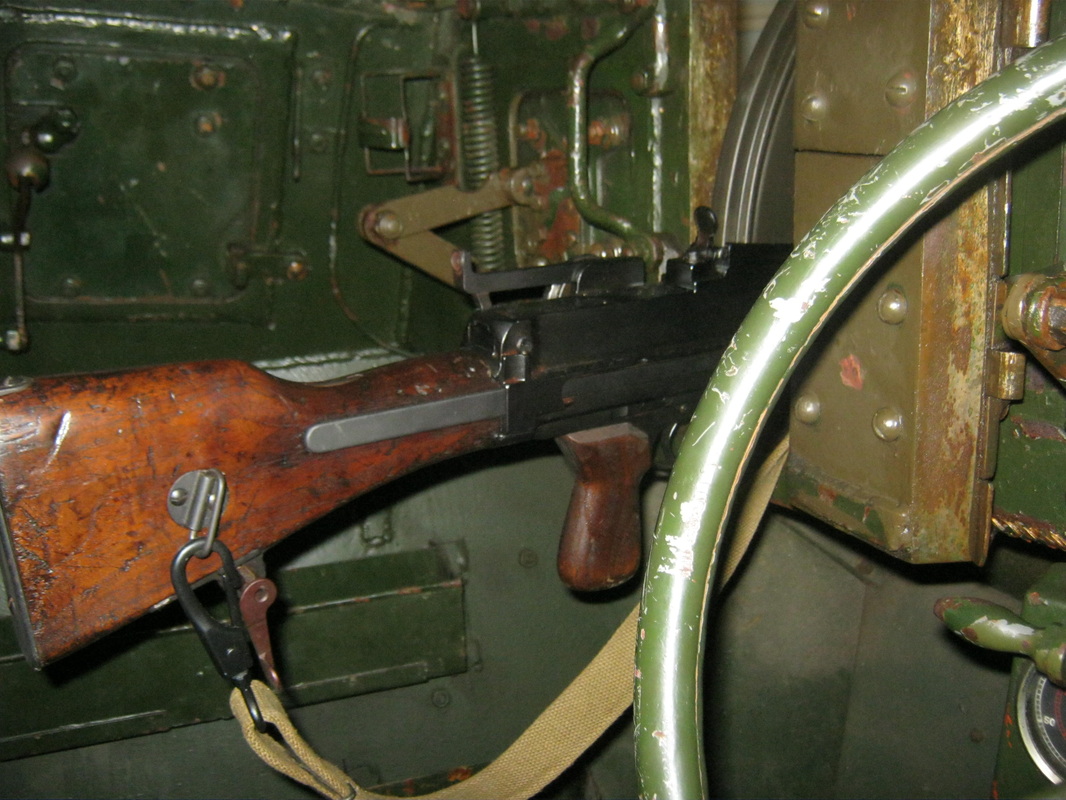
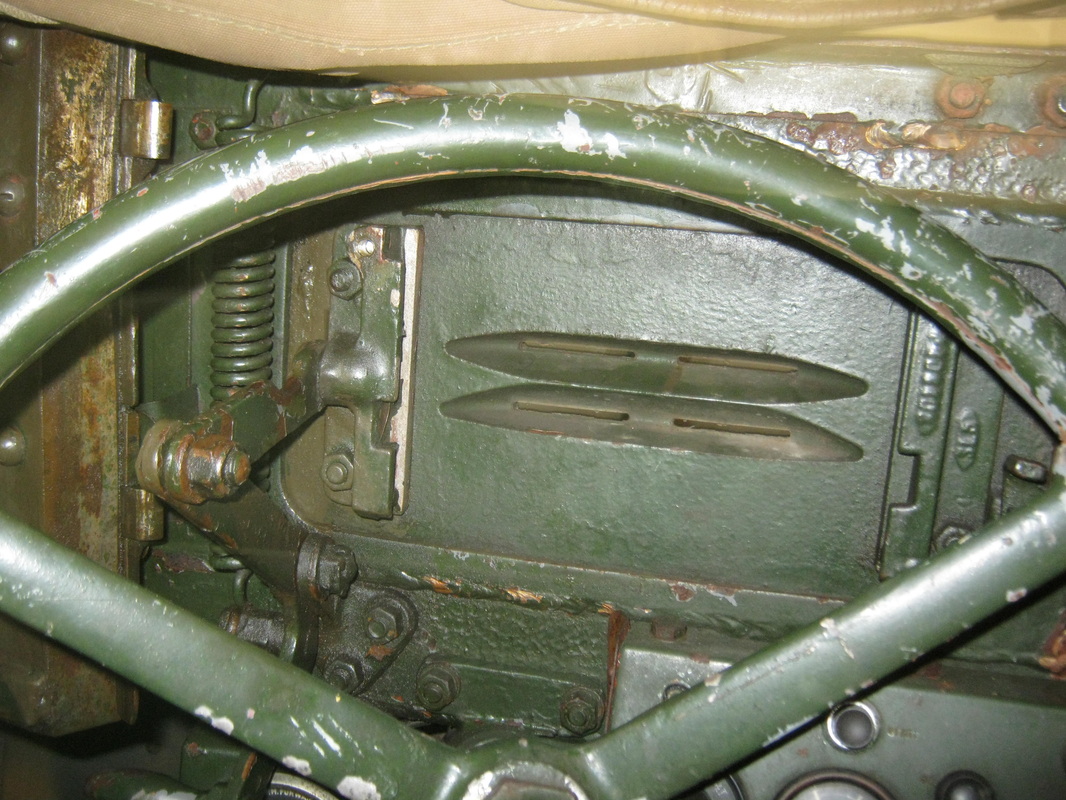
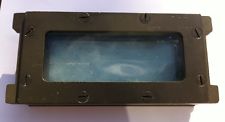
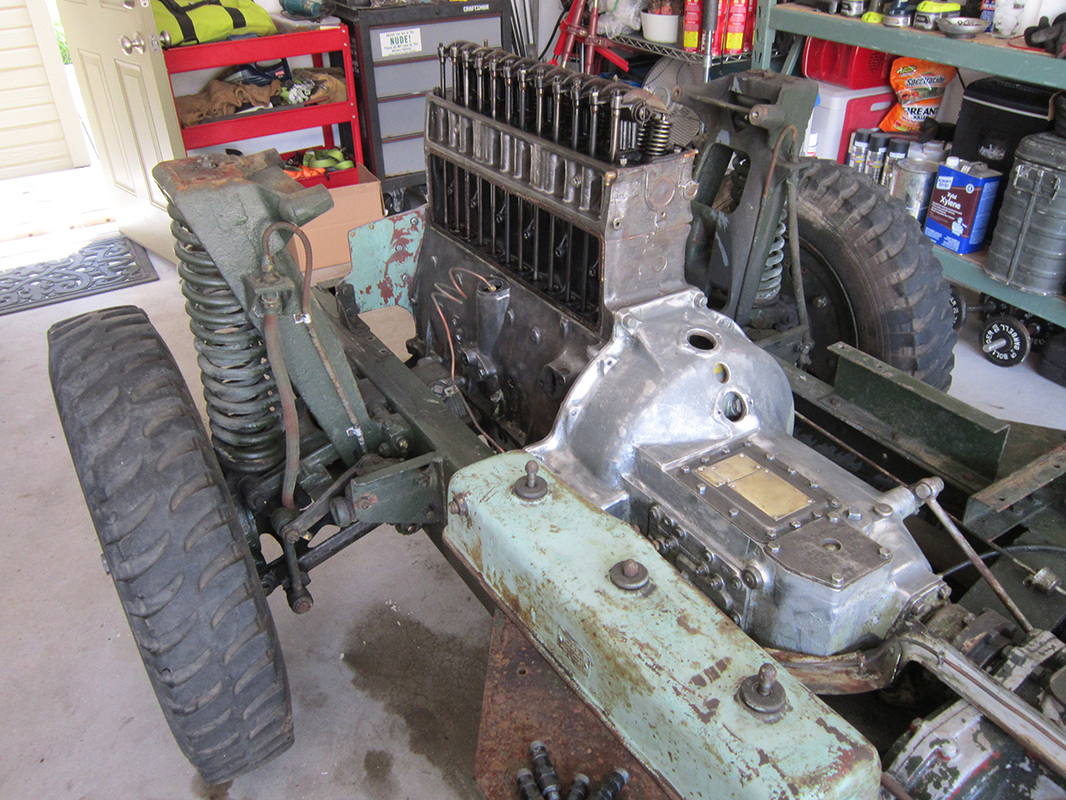
The above left photo is of the engine after removal of the radiator, fan, water pump, and thermostat housing, and removal of some of the dirt and oil residue from the engine and compartment. Crankshaft pulley visible at bottom, followed clockwise by dynamo, carburetor, intake manifold, valve cover, voltage regulator at top right against firewall, to the front of it the old tank, to the front of that, the oil filler housing, and to the right against the wall, the oil filter housing. The above center photo is of the canvas cover in place, with the 'hatch' cover rolled back, and bren gun in place. The cover has some holes to be patched and hardware missing to be replaced, but generally in good condition. The above right is looking into the crew compartment from the escape hatch. Upon putting a battery in and turning on the panel lights, it was discovered that all gauge lights work, as well as the headlight and those external lights that had bulbs present. A push of the start button turned over the engine, so luckily the engine wasn't frozen. The guage visible below the bren gun is the speedometer. Below left is from the gunner's seat, with bren in place and the obseration port closed. There is no bracket of any type for the bren, just a rubber block mounted on the outside of the armor plate. Below center is looking toward the gunner from the driver's seat, and to the right is the driver's position looking forward. What you see are the vision slots cut into the armored port cover, which is in the close position. To the left and right of the slots can be seen the rackets that the plexiglass vision block slides into. The right photo is the vision blcok itself The dingo was issued with three of them, one mounted and two as spares.
|
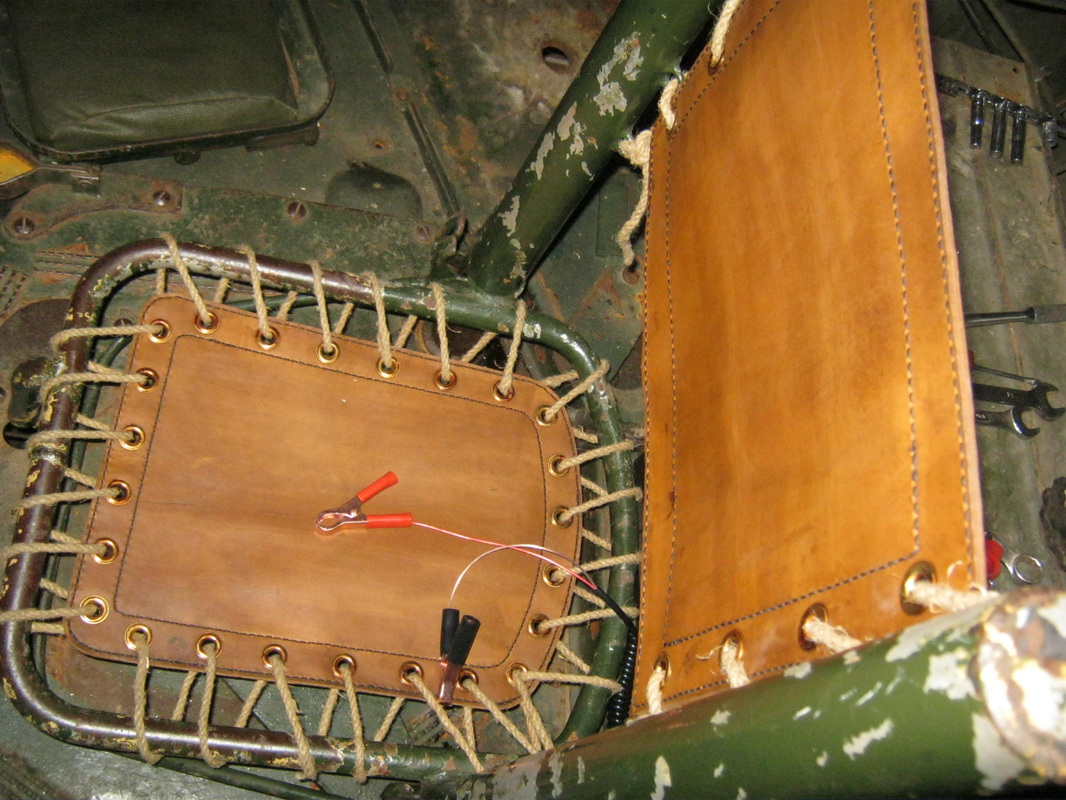
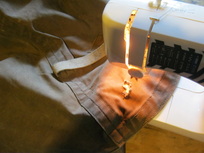
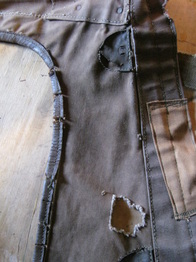
The photo to the right is of the new commander/gunner's leather seat back and bottom, patterened from the originals that came with the dingo but are worn out and crumbling. The middle and far right photos are of the canvas roof that goes over the fighting compartment. The original canvas roof is in good enough shape to repair. Several holes and tears are sewn up and patched, and the leather beading around the driver and gunner hatches is crumbling and is being replaced.
|
Update 10 May 2014
Making slow but steady progress on the Dingo. Had the armour hull off when everyone was here for Muster Day. Since then I have removed the entire wiring harness so I can start mapping it out and then will be able to order proper colored wires and replace them one by one since nobody makes replacement harnesses. Also was able to get all of the accessories and external fittings off the engine. Starter was stuck engaged but tested OK electrically and spun over when I tried it after removing it and laying it on the garage floor. Dynamo is thus far untested but likely will need at least a new condenser which I’ll deal with after I get wiring situated. The exhaust manifold has two main pipes joined with a Y fitting and one of the pipes was busted completely in half. Bolts had been holding it in place being assisted by the jagged break. There was exhaust soot present which indicates the engine had been run while the manifold was cracked sometime in its earlier history. Have a good welder lined up that can deal with cast metal and he previously fixed Page’s Citroen manifold which was busted unloading her truck last year at Muster Day when the lower exhaust pipe bottomed out and hit the trailer deck. So at least that should be a cheap fix.
Brakes which were the reason the vehicle couldn’t move easily over the past 30 years are being overhauled. The master and wheel cylinders are getting re-sleeved and I got modern replacement flex hoses from the UK. The metal brake fluid lines should be OK once old crud is flushed out of them. This will effectively make the brakes as new which was a high priority since being able to control a 3-4 ton wheeled vehicle in hilly terrain is critical.
Temperature gauge proved to be non-functional when removed and tested. This has a 15 foot long tube connected to the ether filled bulb that goes into the engine. Having no ability to refill and calibrate these myself, I’ve sent it off to be restored. Hopefully it can be done fairly quick since the engine and the vehicle floors can’t be reassembled/tested without it as it needs to seal the water jacket and the tube runs under the floor with the wiring harness.
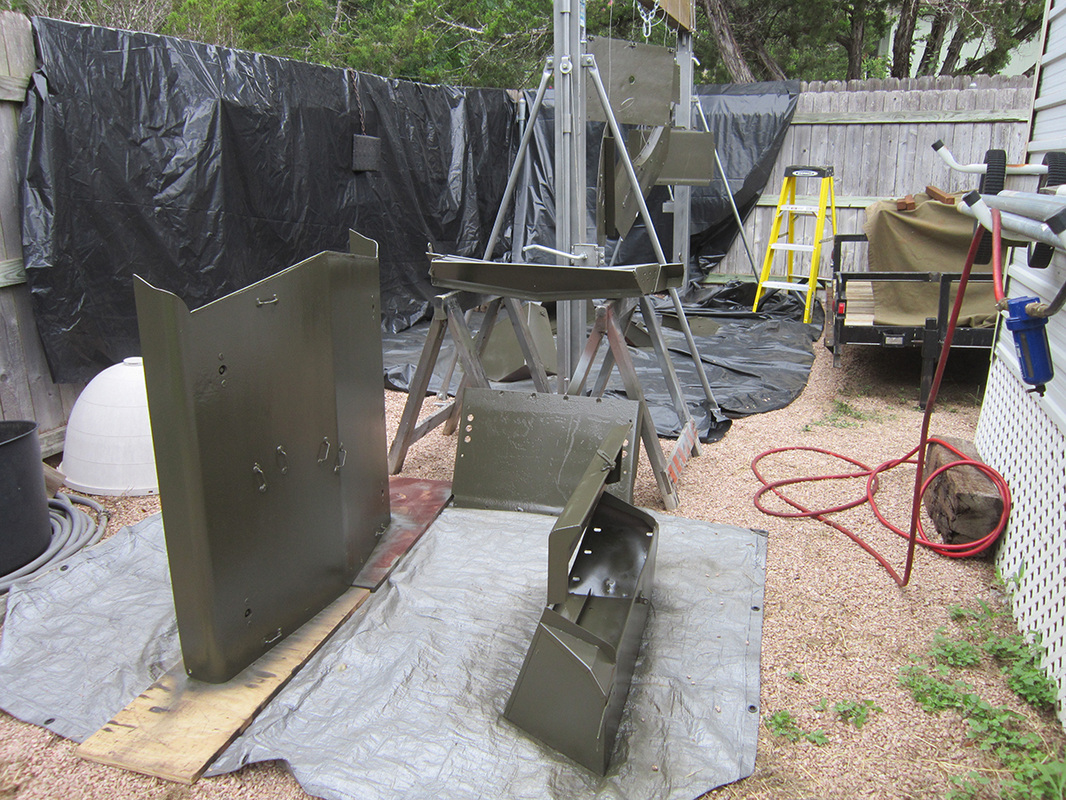
On the brighter side, I’ve used metal roofing discs and form-a-gasket to seal all of the holes on the striped engine. So this weekend I’ll trailer the rolling frame w/engine over to the car wash after their day staff has left. Then can power wash and degrease everything and really see if there are any other problems. If not, I’ll be able to repaint it without further disassembly since most of it won’t be visible with the body and floor panels back in place. Main goal there is to clean it up and paint it to preserve what we won’t be able to access later on.
Last but not least, I received a NOS exhaust system from the UK which will go a long way towards bringing the vehicle back to the wartime look since it hangs visibly under the escape hatch door. Shot attached shows it still sealed at the ends and bearing the original military Daimler inventory tag. A very nice find.
|
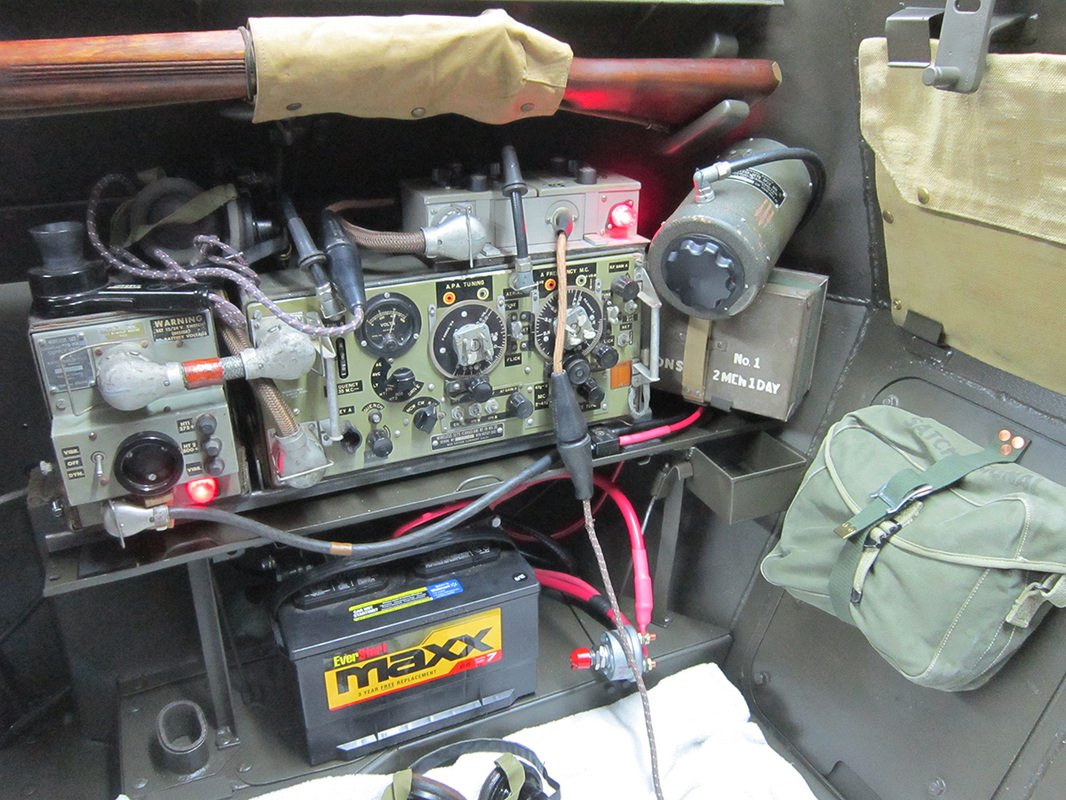
Test fitting wireless gear so I could finish the wiring harness and battery cables.
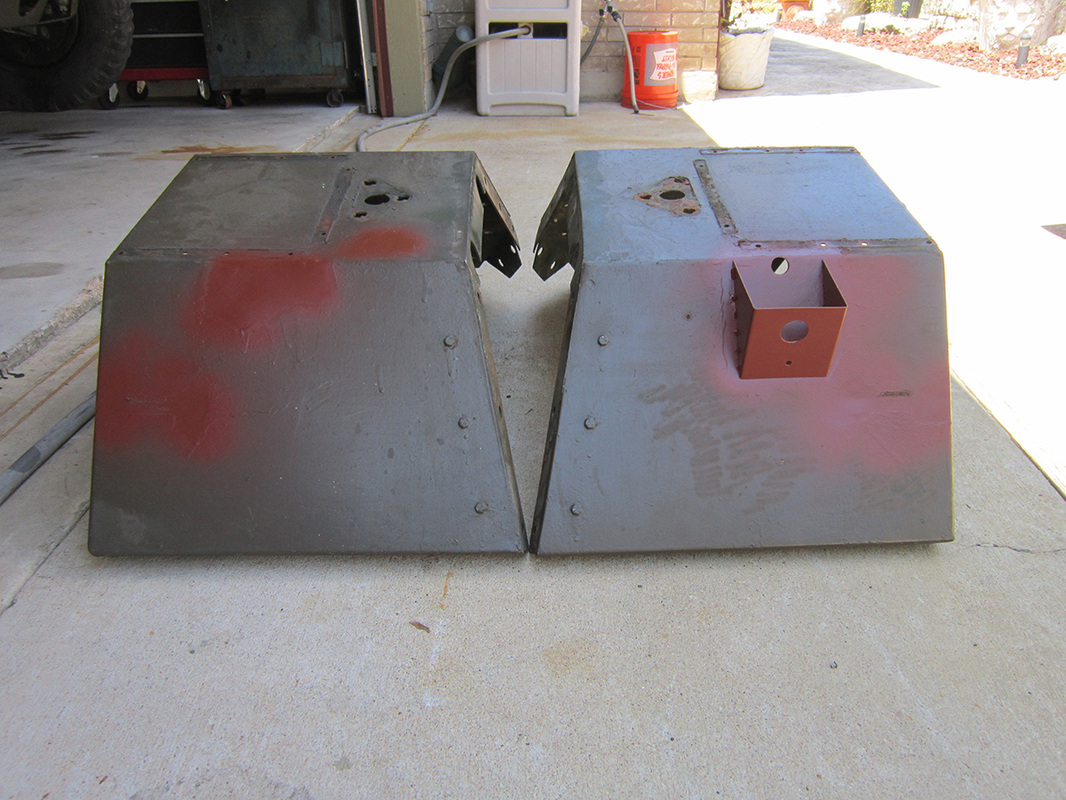
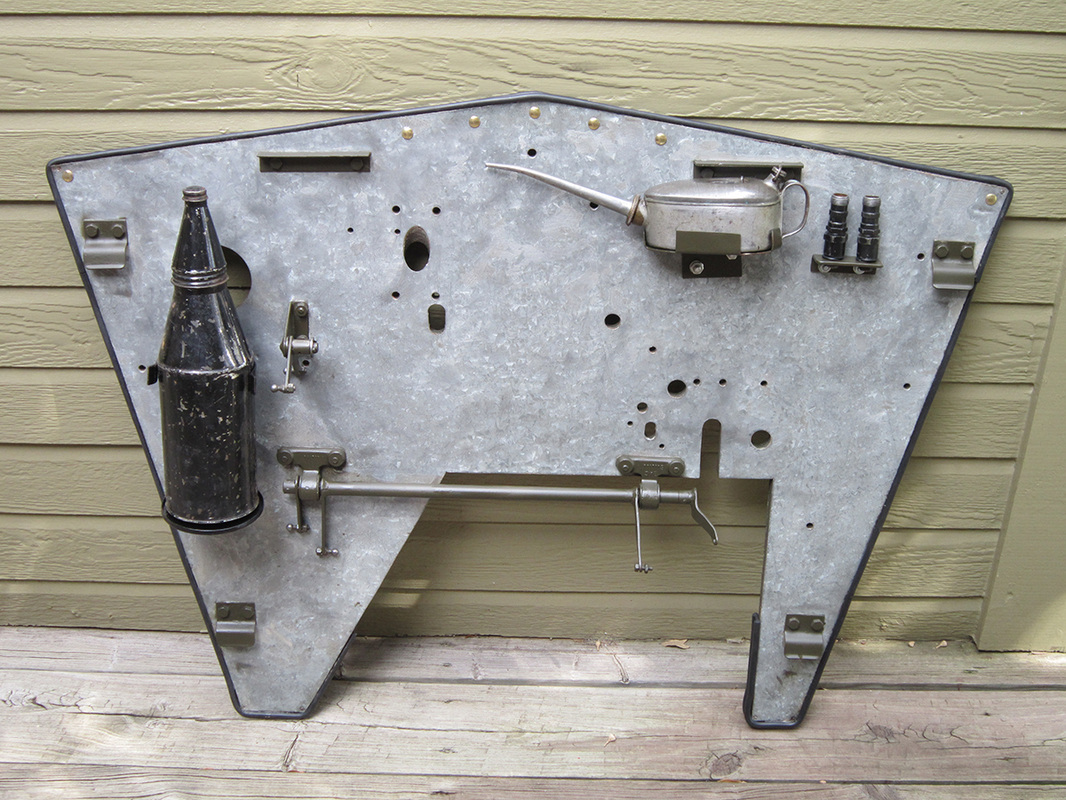
Rear fenders before sandblasting. Postwar reflector and light bases removed and period correct type single rear light bracket now on driver side. Firewall cleaned up with new rubber and oil can bracket and spare spark plug holders fabricated. Painting lockers, engine cover and floor panels outside. No place like Texas…. |
|
Update 22 October 2014
Two videos showing the Dingo for the first test runs from inside and out. Still have a lot of work to do before it is completed but most systems seem to be functioning properly. Need to sort out the gear change pedal as it isn’t returning. This creates an issue similar to a slipping clutch with lack of power climbing hills. Hopefully it won’t be too hard to sort out. Need to install the front locker once a new lid has been fabricated, and need to build a driver seat back frame. Fortunately we have an original (seat back) coming on loan to use as a pattern. Also need to install all the hardware for the soft top. Then repair the original top and build the cushions for the driver’s seat and the jury seat (frame for that also hasn’t been installed yet). Plan to give the overall vehicle one more coat of paint while it’s all still clean. Then can proceed with the unit markings. So far the only markings are the invasion star in a circle painted on the engine cover. |
|
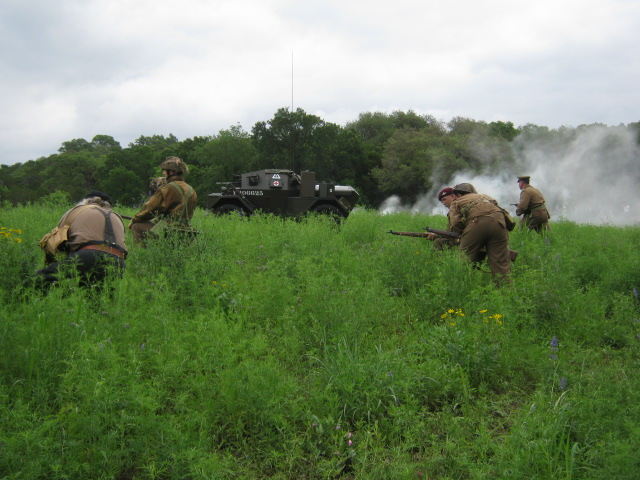
April, 2015. The newly restored Dingo out for its first reenactment at Muster Day at Camp Mabry in Austin, Texas. David, owner and 6th AARR member is at the wheel. The bren gun is a propane "gas gun" simulated machinegun built with real bren gun parts that fires bursts of propane and oxygen to simulate machinegun fire.
|
Dingo Links
The link below is to the Daimler Fighting Vehicles home page, the best resource for Daimler Dingos there is.
http://www.daimler-fighting-vehicles.co.uk/
Link to a site with photos and information of surviving Dingos today.
http://the.shadock.free.fr/Surviving_Dingo_Lynx_Scout_Cars.pdf
Link to a Dingo with a WS-19 radio mounted
http://www.flickr.com/photos/sbell/5582055819/
Link to great period and modern footage of the Dingo in action on youtube - dubbed in Italian.
http://www.youtube.com/watch?v=IbAxFJZo5-k
Link to AFV Handbooks where you can buy copies of the manuals for the Daimler Dingo.
http://www.afvhandbooks.com/daimler_dingo_scout_car.html
Link to a website that has WW2 standard fasteners for your british vehicle restoration
http://www.britishfasteners.com/index.php
Link to a website that has WW2 standard tools for your british vehicle restoration
http://www.britishfasteners.com/index.php/products/ultimate-whitworth-tool-kit-4010
